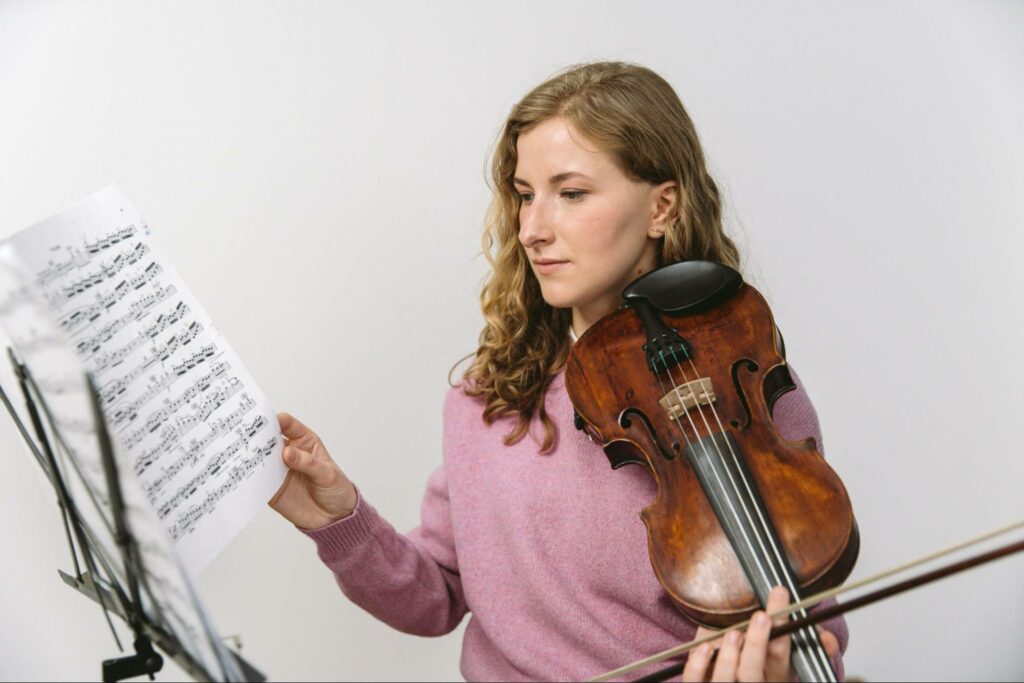
Learning to play the violin can feel both exciting and overwhelming, especially for beginners. The violin, a beautifully expressive instrument, requires precision in both bowing and finger placement to produce the rich, melodic tones it’s known for. If you’re a beginner looking to build a solid foundation, understanding violin basics, particularly bowing and finger placement, is essential. In this guide, we’ll walk you through the fundamental techniques to get you started.
The Basics of Bowing
Bowing is one of the core elements that defines the sound of the violin. Proper bowing technique affects not only the volume but also the clarity and tone of each note. Let’s explore a few essential bowing basics every beginner should know.
Holding the Bow Correctly
Your bow grip significantly influences your control and flexibility while playing. To hold the bow correctly:
- Place your thumb on the bow’s underside, near the frog (the part closest to your hand).
- Your middle and ring fingers should wrap around the bow, with your index finger resting slightly forward for balance.
- The pinky should rest gently on top of the bow to maintain stability.
Practice holding the bow with relaxed fingers, as tension can lead to a shaky bow or inconsistent sound.
The Bowing Motion
Smooth, controlled bowing is key to creating a pleasant sound. For beginners, it’s helpful to break down the bowing motion into two main parts:
- Down-bow: Starting at the frog, push the bow across the string towards the tip.
- Up-bow: Starting from the tip, pull the bow back towards the frog.
To practice, try bowing on open strings (G, D, A, or E) without pressing any fingers on the fingerboard. Aim for a steady, consistent sound, and keep the bow parallel to the bridge. Practicing on open strings helps you focus on creating even tones, which will become invaluable as you progress.
Bowing Pressure and Speed
Mastering the balance between bow pressure and speed takes practice but makes a huge difference in sound quality. For a beginner:
- Pressure: Apply a moderate amount of pressure on the strings with the bow. Too much pressure will create a scratchy sound, while too little will result in weak tones.
- Speed: Try slow bowing at first. This allows you to listen to the tone produced and make adjustments as needed.
As you become more comfortable, you can vary bow speed and pressure to create different dynamics, like playing louder or softer as needed.
Helpful Resources for Practicing Bowing
Using visual aids can be especially beneficial for beginners. Check out online tutorials or beginner exercises on platforms like YouTube to see bowing techniques in action. You might also try beginner violin apps that offer practice tips for bowing and allow you to track your progress.
Mastering Finger Placement
Once you’re comfortable with bowing, the next step in mastering violin basics is finger placement. Proper finger placement will allow you to hit notes accurately and create the melody you want.
Understanding the Fingerboard
The violin fingerboard is the black surface where you place your fingers to change the pitch.

Unlike instruments like the guitar, the violin doesn’t have frets, so finger placement must be precise. Each string can produce different notes depending on where you place your fingers along the fingerboard.
Basic Finger Placement for Beginners
Most violin music is based on a four-finger pattern:
- The first finger (index) is closest to the scroll.
- The second finger (middle) is placed further up.
- The third finger (ring) continues in sequence.
- The fourth finger (pinky) usually hits the highest note on each string.
Beginners typically start with the first position, where the first finger plays notes closest to the open string sound, and subsequent fingers increase the pitch.
Using Finger Markers for Guidance
Many beginners find it helpful to place small stickers or tape on the fingerboard to guide finger placement for each note.

These markers help you build muscle memory, so over time, you’ll know where to place each finger without looking.
Exercises to Practice Finger Placement
To build accuracy:
- Practice scales, like G major or D major, on each string. Playing scales slowly helps you focus on hitting the correct notes and listening to the intonation.
- Use a tuner to verify your notes. Apps and tuners can show whether you’re flat, sharp, or on pitch.
Resources for Finger Placement Practice
There are plenty of online resources on violin for beginners that offer exercises and finger placement guides.
Combining Bowing and Finger Placement
Once you’ve practiced bowing and finger placement separately, start combining the two techniques. Play simple songs on one string to build coordination. Begin with basic melodies, such as “Twinkle, Twinkle, Little Star,” focusing on smooth bowing and accurate finger placement. This allows you to create clear, enjoyable sounds, which is motivating for beginners.
Tips for Progress
- Practice Daily: Aim for short but consistent practice sessions each day. Building muscle memory for both bowing and finger placement requires repetition.
- Listen to Recordings: Record yourself playing to identify areas that need improvement.
- Take Lessons: A violin teacher can offer real-time guidance on your bowing and finger placement, helping you avoid common mistakes and progress faster.
Learning violin basics, specifically bowing and finger placement, is a rewarding journey that forms the foundation of your playing. By focusing on these two aspects and practicing regularly, you’ll improve your sound quality and build a solid foundation for more advanced techniques. Embrace the process, and remember that each practice session brings you closer to achieving beautiful violin music. With patience, dedication, and the right resources, any beginner can master these essential techniques.

